



Table of Contents
In this guide, we’ll explain how to correctly cancel an invoice within the application in just a few clicks.
What is an eInvoice cancellation (storno)?
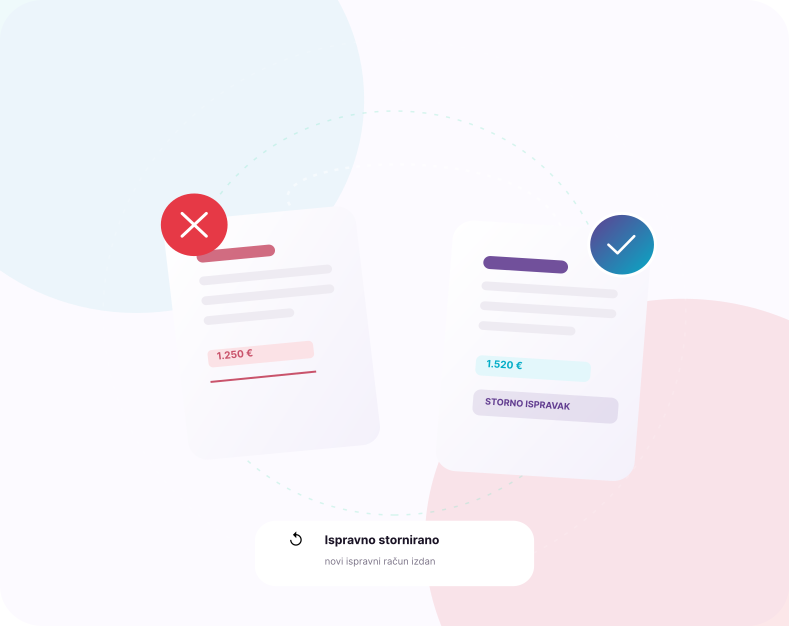
Once an invoice has already been successfully sent into the system, the only correct way to fix an error is to issue an official document that cancels the original invoice. This document is called a cancellation invoice (or e-credit note). A cancellation invoice with negative amounts completely “neutralizes” the incorrect one, allowing you to subsequently issue a new, fully correct eInvoice.
How to create a cancellation invoice in the Vizibit eInvoice application
The cancellation process in our application is fully automated to help you avoid manually re-entering data and potential new errors. The system will automatically create a draft with negative amounts and correctly link it to the original document.
1.Access the invoice list:
In the left navigation menu, click the IFA icon and select All Invoices to get an overview of all issued invoices.
2.Select the invoice to cancel:
Find the invoice you want to cancel on the list. Click the menu button (three dots or action icon) located at the very end of that invoice’s row to open additional options.
3.Initiate the cancellation:
Simply select the Cancel option from the dropdown menu.
4.Confirm the action:
A confirmation window will appear asking: “Are you sure you want to cancel this invoice?” Here the system informs you that a new invoice with a negative amount will be automatically created in the “Drafts” folder and will be permanently linked to the original invoice number. Click the Confirm button to proceed.
5.Review and edit the draft:
The system will automatically redirect you to the draft of the new cancellation invoice in your drafts. Here it’s important to visually verify three key things:
Amounts: Check whether all items and amounts are shown as negative values (e.g., -15.00 €).
Invoice type: Check whether Cancellation invoice (e-credit note) is correctly selected in the dropdown menu.
Reference: You’ll notice that the reference to the previous (cancelled) invoice has been automatically added (which is a legal requirement!).
6.Issue the invoice:
Once you’ve verified the accuracy of all data, click the Issue Invoice button located at the top of the screen to finalize the document. The system will display a message confirming that the issuance was successful.
7.Send the cancellation to the recipient:
Your cancellation invoice has now been officially issued, but you still need to send it to the client so their accounting can close the item. Select the Send eInvoice option and find the newly created cancellation invoice on the list.
Conclusion:
Fixing administrative errors doesn’t have to be a source of stress and panic. Through the automated process within the application, the system handles the harder part of the work for you – it takes care of the negative amounts, automatically pulls the legally required references, and prepares the document for sending in just a few clicks.
Table of Contents